Installing an outdoor power cord can be a straightforward process if you follow the right steps and safety guidelines. As an outdoor power cord supplier, I've seen firsthand the importance of a proper installation to ensure the safe and efficient use of electrical equipment outdoors. In this blog post, I'll guide you through the process of installing an outdoor power cord, from choosing the right cord to making the final connections.
Step 1: Choose the Right Outdoor Power Cord
The first step in installing an outdoor power cord is selecting the appropriate one for your needs. There are several factors to consider when making this choice:
- Length: Measure the distance from the power source to the location where you'll be using the electrical equipment. Choose a cord that is long enough to reach without being overly extended, as this can cause voltage drop and potential safety hazards. We offer a variety of lengths, including our 200 ft Heavy Duty Extension Cord, which is ideal for longer distances.
- Gauge: The gauge of a cord refers to its thickness, and it determines the amount of electrical current the cord can safely carry. For outdoor use, it's recommended to use a cord with a lower gauge number, as this indicates a thicker wire and more capacity. A 12-gauge or 10-gauge cord is suitable for most outdoor applications, especially if you'll be using high-powered equipment.
- Weather Resistance: Outdoor cords need to be able to withstand various weather conditions, including rain, snow, and sunlight. Look for cords that are labeled as "weather-resistant" or "outdoor-rated." Our Heavy Duty Outdoor Extension Lead is designed with durable, weather-resistant materials to ensure long-lasting performance.
- Plug and Connector Type: Make sure the plug on the cord matches the outlet you'll be using, and the connector at the other end is compatible with your electrical equipment. Some cords come with special features, such as locking connectors, to prevent accidental disconnection.
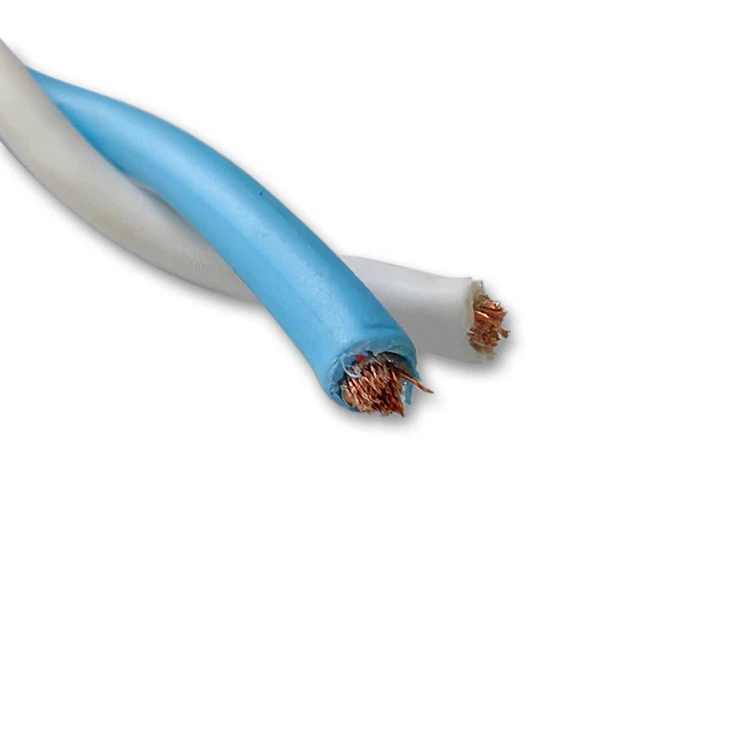
Step 2: Inspect the Cord and Equipment
Before installing the outdoor power cord, carefully inspect it for any signs of damage, such as cuts, frays, or exposed wires. Do not use a damaged cord, as it can pose a serious safety risk. Additionally, inspect the electrical equipment you'll be connecting to the cord to ensure it is in good working condition and suitable for outdoor use.
Step 3: Plan the Route
Determine the best route for the power cord to reach the equipment. Avoid running the cord across walkways, driveways, or areas where it could be easily damaged or tripped over. If possible, use cable protectors or conduit to safeguard the cord from physical damage.
Step 4: Prepare the Power Source
If you're using an outdoor outlet, make sure it is properly grounded and protected by a ground fault circuit interrupter (GFCI). A GFCI is a safety device that can detect electrical imbalances and quickly shut off the power to prevent electric shock. If your outlet does not have a GFCI, consider installing one or using a portable GFCI adapter.
Step 5: Connect the Cord to the Power Source
Once you've prepared the power source, plug the cord into the outlet. Make sure the plug is fully inserted and that there is a secure connection. If you're using a locking plug, engage the locking mechanism to prevent the plug from accidentally coming loose.
Step 6: Connect the Cord to the Electrical Equipment
Next, connect the other end of the cord to the electrical equipment. Again, ensure a secure connection and that the plug is fully inserted. If the equipment has a switch, turn it off before making the connection to avoid any electrical arcing.
Step 7: Secure the Cord
After making the connections, secure the cord along the planned route using cable ties or clips. This will prevent the cord from moving around and reduce the risk of damage. Avoid tightly coiling the cord, as this can cause it to overheat.
Step 8: Test the Connection
Once the cord is installed and secured, turn on the electrical equipment to test the connection. Check for any signs of electrical problems, such as flickering lights or unusual noises. If you notice any issues, immediately turn off the equipment and disconnect the cord, then troubleshoot the problem.
Safety Tips
- Never overload the cord: Make sure the total wattage of the electrical equipment you're connecting to the cord does not exceed the cord's rated capacity. Overloading a cord can cause it to overheat and potentially start a fire.
- Keep the cord dry: Avoid using the cord in wet conditions, and if it gets wet, dry it thoroughly before using it again. Water can conduct electricity and increase the risk of electric shock.
- Unplug when not in use: When you're finished using the electrical equipment, unplug the cord from the outlet to prevent any potential electrical hazards.
- Store the cord properly: When not in use, store the cord in a dry, cool place. Avoid leaving it outside in extreme weather conditions for extended periods.
Conclusion
Installing an outdoor power cord is a relatively simple process, but it's important to follow the right steps and safety guidelines to ensure a safe and reliable connection. By choosing the right cord, inspecting it carefully, and following the proper installation procedures, you can enjoy the convenience of using electrical equipment outdoors without any worries.
If you're in the market for high-quality outdoor power cords, we offer a wide range of products to meet your needs. Our Heavy Duty Outdoor Extension Lead, Low Profile Outdoor Extension Cord, and 200 ft Heavy Duty Extension Cord are all designed with durability and safety in mind.

If you have any questions about our products or need assistance with your outdoor power cord installation, please feel free to contact us. We're here to help you make the right choice and ensure a successful installation. We look forward to discussing your procurement needs and providing you with the best outdoor power cord solutions.
References
- National Electrical Code (NEC)
- Electrical Safety Foundation International (ESFI)