Indoor strip cables are essential components in modern households and offices, providing a convenient way to power multiple devices simultaneously. As a trusted indoor strip cable supplier, I understand the importance of a proper connection. In this blog, I'll guide you through the process of connecting an indoor strip cable safely and effectively.
Understanding Your Indoor Strip Cable
Before you start the connection process, it's crucial to understand the different types of indoor strip cables available. There are various models, each designed to meet specific needs. For instance, the Travel Extension Cord with USB is perfect for those on the go, allowing you to charge your mobile devices while using other electrical appliances. On the other hand, the Extension Cord Connected To Power Strip provides additional reach and multiple outlets for various devices. And if you only need to charge USB - powered devices, the USB Only Power Strip is an ideal choice.
Safety First
Safety should always be your top priority when dealing with electrical connections. Here are some essential safety tips:
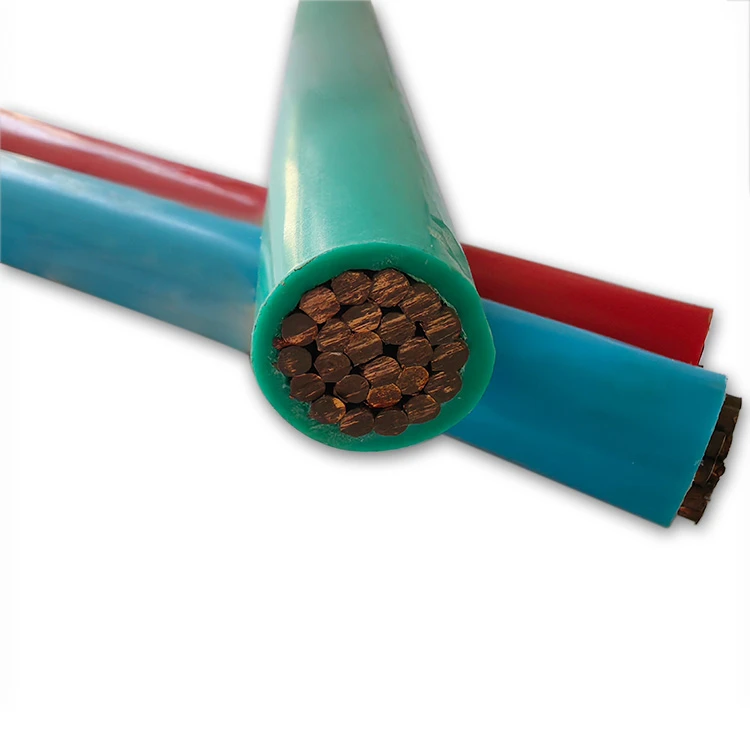
- Inspect the Cable: Before connecting the indoor strip cable, carefully examine it for any signs of damage, such as frayed wires, cuts, or exposed insulation. If you find any issues, do not use the cable and replace it immediately.
- Check the Rating: Ensure that the strip cable can handle the total power requirements of the devices you plan to connect. Overloading a cable can lead to overheating, which may cause a fire hazard.
- Use a Suitable Outlet: Plug the strip cable into a grounded outlet. A grounded outlet helps prevent electrical shocks by providing a path for excess electricity to flow safely into the ground.
Step - by - Step Connection Process
Step 1: Choose the Right Location
Select a dry, well - ventilated area to place your indoor strip cable. Avoid areas where the cable may get wet, such as near sinks or in bathrooms. Also, make sure the cable is not in a high - traffic area where it could be tripped over or damaged.
Step 2: Unroll the Cable
Gently unroll the indoor strip cable, making sure there are no kinks or twists. A kinked cable can restrict the flow of electricity and increase the risk of overheating.

Step 3: Plug into the Outlet
Insert the plug of the indoor strip cable into the grounded electrical outlet. Make sure the plug fits snugly and there is no loose connection. A loose connection can cause arcing, which is a potential fire hazard.
Step 4: Connect Your Devices
Once the strip cable is plugged into the outlet, you can start connecting your devices. Begin by plugging in the devices with the highest power requirements first. This helps ensure that the cable can handle the load.
When connecting devices, pay attention to the type of plugs. Some devices may have three - prong plugs, while others may have two - prong plugs. Make sure you insert the plugs correctly into the appropriate outlets on the strip cable.
Step 5: Check the Connection
After connecting all your devices, double - check the connections to make sure they are secure. Then, turn on the devices one by one to ensure they are working properly. If you notice any issues, such as a device not turning on or a spark when plugging in a device, immediately unplug the strip cable from the outlet and investigate the problem.
Troubleshooting
Even with proper installation, you may encounter some issues with your indoor strip cable. Here are some common problems and their solutions:
- Device Not Working: If a device is not working after being connected to the strip cable, first check if the device is turned on and if the plug is securely inserted into the outlet. You can also try plugging the device into a different outlet on the strip cable or a different power source to see if the problem persists.
- Overheating: If the strip cable or an outlet on the strip cable feels hot to the touch, it may be overloaded. Unplug some of the devices to reduce the load and see if the overheating stops. If the problem continues, the cable may be damaged, and you should replace it.
- Tripped Circuit Breaker: If the circuit breaker trips when you plug in the strip cable or turn on a device, it means the circuit is overloaded. Unplug some devices and try again. If the breaker continues to trip, you may need to use a different circuit or a strip cable with a higher power rating.
Maintenance and Long - Term Use
To ensure the long - term performance and safety of your indoor strip cable, follow these maintenance tips:
- Regular Inspections: Periodically inspect the cable for any signs of wear and tear. Look for frayed wires, loose connections, or other damage.
- Keep it Clean: Dust and debris can accumulate on the strip cable and its outlets, which can affect its performance. Use a dry cloth to clean the cable and outlets regularly.
- Proper Storage: When not in use, store the indoor strip cable in a cool, dry place. Avoid coiling the cable too tightly, as this can damage the wires inside.
Conclusion
Connecting an indoor strip cable is a relatively simple process, but it requires careful attention to safety and proper installation. By following the steps outlined in this blog, you can ensure a safe and reliable connection for your electrical devices.
As an indoor strip cable supplier, we offer a wide range of high - quality indoor strip cables to meet your needs. Whether you need a travel - friendly cable or a heavy - duty power strip, we have the perfect solution for you. If you are interested in purchasing our products or have any questions about our indoor strip cables, please feel free to contact us for procurement and further discussions.
References
- Electrical Safety Foundation International. (2023). Electrical safety tips for home.
- National Fire Protection Association. (2023). Electrical fire prevention guidelines.